Data Submission Guide
If you have any questions during the data submission process, please contact the OSDR Curation team at arc-dl-osdr-data@mail.nasa.gov.
Prior to starting the data submission process please do the following:
If you have a NASA-funded study, and you have not yet filled out a Research Data Submission Agreement (RDSA), please contact OSDR at arc-dl-osdr-data@mail.nasa.gov. Your RDSA will be used to create your study. If you already have an RDSA, your experiment record will have a study associated. You can create more studies as needed.
Review a study on OSDR. Review one of the public datasets in OSDR, such as OSD-48 (animal), OSD-427 (plant), or OSD-554 (microbe), to become familiar with the format.
Important Notes:
OSDR recommends organizing studies by organism and tissue type with the exception of plant studies, which are organized only by organism. If your submission contains data from more than one tissue type, a new study should be created for each tissue. Failure to do so could lead to delays in curation, as well as an incomplete list of DOIs to include in your manuscript.
For file names, please use common acronyms as defined on the Open Science Abbreviations page, whenever possible. If your data has acronyms, scientific terms, or column names that need to be defined, please include a data dictionary with your study. An example data dictionary can be found in dataset OSD-618 (Files > Novel Object Recognition > Data Dictionary Files).
Data Submission Tutorial
OSDR accepts submission of data and respective metadata from space-relevant experiments including spaceflight and ground-based analog experiments. Below are step-by-step instructions for how to prepare and submit your experimental data and metadata for publication on OSDR.
Download and Complete the Sample Metadata Files
Note: Missing metadata values could lead to delays in curation.
1. Download sample metadata template.
On the OSDR Data Curation GitHub repository, go to the Sample_Metadata_Templates folder. If your study is from a spaceflight experiment, double click on the “Spaceflight_Studies” folder. If your study is from a ground-based analog experiment, double click on the “Ground_Studies” folder. Find the Sample Table template that best fits your study design and organism and click on it. Then click on the download button to download the template as shown below.

2. Fill in general sample information.
Once downloaded, open the template in excel and go to the “General” tab. Input your study details starting with the Study Title (note: you will be assigned an OSD-# in step 15 below). Hover over the cells in column A to view the definition for each metadata type. Whenever available, use the controlled ontology terms from the drop-down menu that appears in the cell.

3. Fill in sample level details.
Go to the “Sample Table” tab. Input your sample details for each column listed. Hover over the column headers to view the definition for each sample metadata type. Whenever available, use the controlled ontology terms from the drop-down menu to populate the values in each cell. If needed, add additional columns to include additional Factors, Characteristics, Parameters, Comments, and/or Protocols.

4. Save your completed sample table Excel file.
This will be used in step 20 to populate your sample-level information in BDME.
Download and Complete the Assay Metadata Files
Note: Missing metadata values could lead to delays in curation.
Each OSD study may contain data from multiple assays, including non-omics (e.g. physiological, phenotypic, imaging, behavioral, etc.) and/or omics (e.g. transcriptomics, metagenomics, proteomics, etc.) assay types. The instructions for non-omics and omics assays are described in steps 5 and 6 below.
5. Download and complete non-omics assay metadata template(s)
5.1. Download non-omics assay metadata template(s)
On the OSDR Data Curation GitHub repository, go to the Assay_Templates folder. For data from non-omics (e.g. physiological, phenotypic, imaging, behavioral, etc.) assays, double click on the “Non-omics_Assay_Templates” folder. Find the Assay template that best fits your assay and click on it. Then click on the download button to download the template as shown below.

5.2. Fill in assay level details
Once downloaded, open the template in Excel. Use the examples provided under each column header as a guide to fill in the assay details in each column for each sample. Whenever available, use the controlled ontology terms to populate the values in each cell. If you can not fill out certain metadata columns in the template, leave it blank.

5.3. Save your completed non-omics assay table Excel file
This will be used in step 21 to populate your assay-level information in BDME.
5.4. Repeat steps 5.1 - 5.3 for each non-omics assay associated with your study
6. Download and complete omics assay metadata template(s)
6.1. Download omics assay metadata template(s)
On the OSDR Data Curation GitHub repository, go to the Assay_Templates folder. For data from omics (e.g. physiological, phenotypic, imaging, behavioral, etc.) assays, double click on the “Omics_Assay_Templates” folder. Find the Assay template that best fits your assay and click on it. Then click on the download button to download the template as shown below.

6.2. Fill in assay level details
Once downloaded, open the template in excel. Hover over the column headers in the assay table to view the description for each assay metadata type. Whenever available, use the controlled ontology terms from the drop-down menu to populate the values in each cell. Use the examples provided as a guide to fill in the assay details in each column for each sample.

6.3. Save your completed omics assay table Excel file
This will be used in step 21 to populate your assay-level information in BDME.
6.4. Repeat steps 6.1 - 6.3 for each omics assay associated with your study
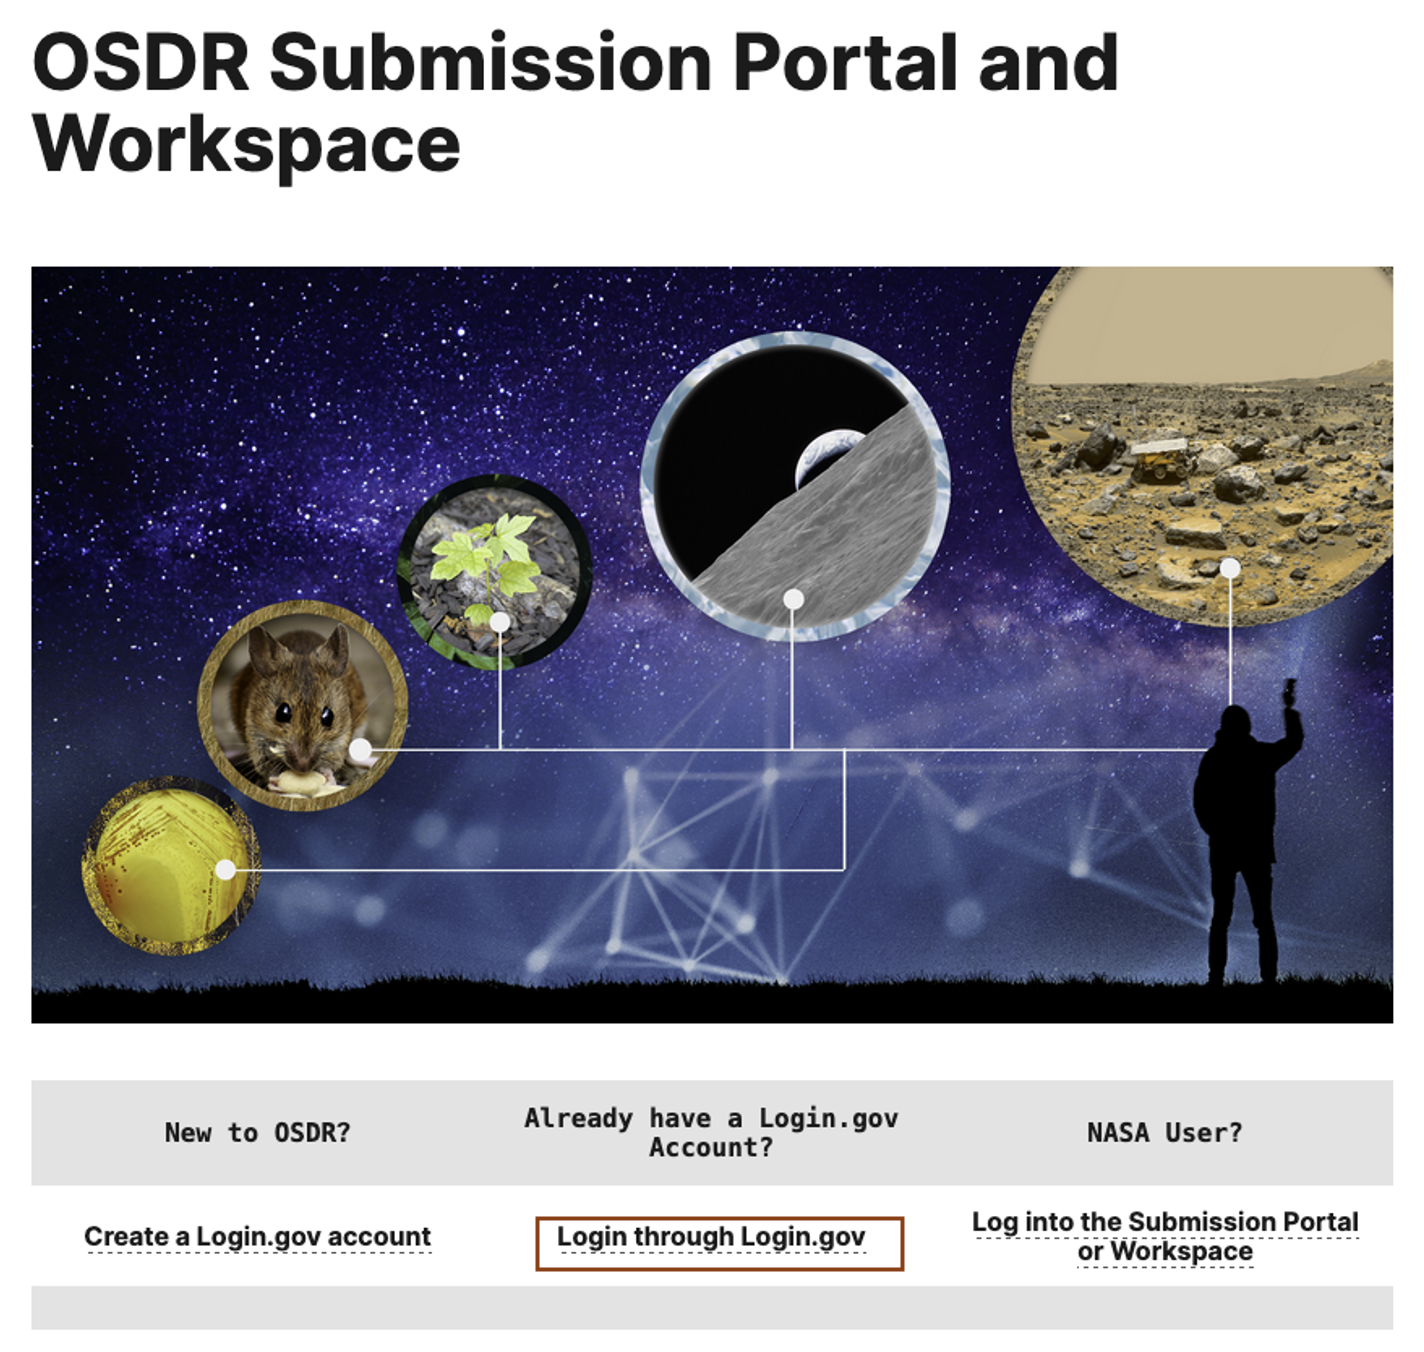
Create a Login.gov Account and Upload Files to Workspace
7. Create a Login.gov account.
If you do not already have a Login.gov account, follow the instructions on the Create a Login.gov Account page to create one. Please note the Login.gov accounts are not managed by the OSDR team. Account issues can be addressed by submitting a help ticket at https://login.gov/contact/. Login.gov can be reached 24/7 at (844) 875-6446.
8. Log in to Workspace
Use your Login.gov account to login to the OSDR Workspace. If you are new to the Workspace, review the Use the OSDR Workspace tutorial.
9. Upload Files to Workspace
After logging in to Workspace, create relevant folders for your data files. It is helpful to create a top-level folder for each organism/tissue or organism (for plant studies) then a child folder for each assay type, followed by grandchild folders for raw and processed data files. Once you’ve created your folder hierarchy, upload your files to the respective directories as shown below:
Notes:
The default workspace quota is 100GB. If more space is needed, please contact OSDR at arc-dl-osdr-data@mail.nasa.gov.
Accepted file format types can be found on the OSDR FAQ page. If your file type is not one of our currently accepted formats, please contact OSDR at arc-dl-osdr-data@mail.nasa.gov.
The following special characters are not allowed in folder or file names, and spaces are discouraged: & $ @ = ; : + , ? \ { { ^ ~ % ` [ ] “ ‘ < > # =

Login to BDME and Create a New Study
You now have everything you need to create a new study in BDME, then input your sample and assay(s) metadata, and associate your data files.
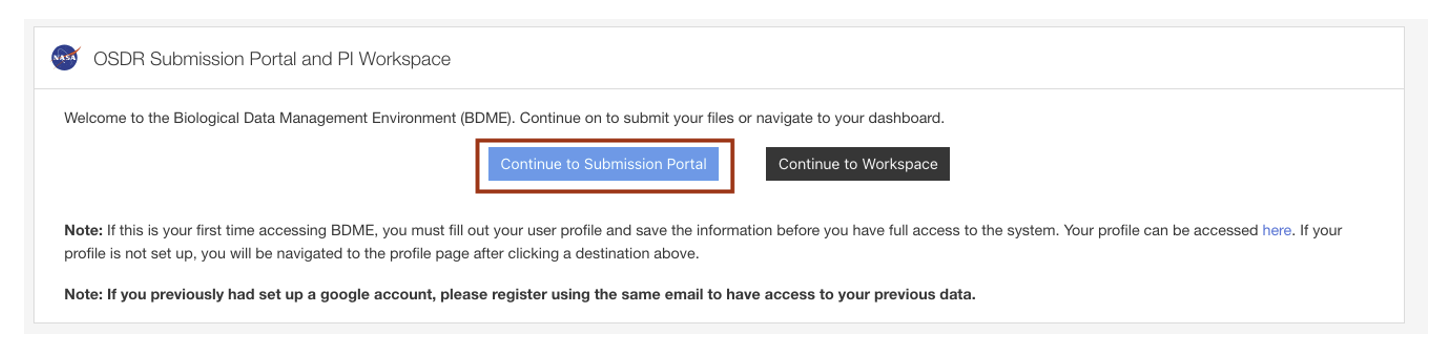
10. Log in to BDME.
Use your Login.gov account to login to BDME and navigate to the Submission Portal:
11. Get familiar with the OSDR submission console.
After logging into BDME, you will see the OSDR submission console as pictured below. The submission console allows users to review their RDSAs and experiments (a series of studies, usually grant-level related), and to create, track, and review OSDR studies (the scientific data).

OSDR Submission Console
The OSDR Toolbar: Links out to the “OSDR Home page”, “Data & Tools”, “Research & Resources”, “Working Groups” and “Help” menus.
Dashboard and User Profile: Click on “My Dashboard” to navigate to and refresh your dashboard. Click on the person icon to edit your user profile or logout.
Help and Create New: Link to the BDME help menu and button that allows users to create a new study.
Dashboard Navigation Menu: Allows users to navigate to their RDSAs, Experiments, and OSDR studies.
Studies Dashboard: Allows users to navigate to studies in specific stages of submission.
All: Shows all studies.
Submitted: Only shows studies that have been submitted.
In Curation: Only shows studies currently in curation.
In Review: Only shows studies currently in review.
Public: Only shows studies that are currently publicly available on the repository.
Private: Only shows studies that are currently private (not available to the public).
12. Create a new study.
Click on the  button in the top right-hand corner of the page. Then select the most appropriate option from the 3 choices. In this example the data is not from a NASA-funded grant, so the second option (highlighted in blue below) is selected. Click “Next” to create your new OSDR accession number.

13. Select a factor that best describes your experiment.
If you do not see a factor (i.e. an experiment type) that describes your study in the drop-down menu, click the “Other” button to email the curation team for review. In this example, the submitter has selected “Spaceflight experiment”.

Then click on the green “Let’s get started” button as shown below:

14. Upload raw data files (if not already in your workspace).
If you did not already upload your files to the OSDR Workspace in step 9, click on “Yes, I would like to upload files now” to upload your files. If you have already uploaded your files, click on “I will upload files later” then click “Next”.

15. Generate study OSD accession number and DOI.
After you click “Next”, a new OSD-# and DOI are automatically created for your study as shown below. These identifiers can be used when submitting manuscripts for peer review. When you see this screen, a new study has been successfully created and you can start curating your data using the OSDR metadata standards.

Input Study Information, Sample and Assay Metadata, and Associate Data Files
16. Navigate to the study overview.
After your OSD accession number is created, click on the “Study overview” button in the bottom right corner as shown below:

17. Input study title, description, contacts, and publication (if applicable).
If your study is already associated with a publication, this information can be added automatically by clicking the “Add Publication” button and inputting the publication DOI or PubMedID. If your study is not yet published, this information must be entered manually by clicking each field as shown below:

18. Locate the tabs bar in the study overview.
The following steps will walk through each tab in the tabs bar, shown below, to fill in the appropriate information related to your study.

19. Input study-level details under “Description”.
Click on the “Description” tab to input study information including Study Design Descriptor, Factors, Project Details, and any related reference data including Project Link(s), Payload(s), Mission(s), and Data Source (only if your data are already published on another database). For each field, start typing then select the relevant controlled ontology term from the drop-down menu that appears (click “more terms” to see additional ontology terms).
Note: Required fields are indicated in red.

20. Input sample details.
Navigate to the “Samples” section of the study overview and use the completed sample metadata excel file you completed in step 3 to populate the sample table.
Note: Whole columns and rows can be copy and pasted from the excel file.
Add additional metadata columns by clicking the “+Factor”, “+Characteristic”, “+Parameter”, “+Comment”, or “+Protocol” buttons. Use the controlled ontology terms from the drop-down menu when naming columns as shown below.

OSDR definitions of the different column types:
Factors = Study design independent variables; e.g. Spaceflight, Treatment (e.g. drug dose, radiation dose, etc.), Ecotype, Sex, Time, etc.
Characteristics = Attributes to describe the samples, quantitative or qualitative; e.g. Organism, Strain, Genotype, Age, Material Type, Organism Part, Seed Source, etc.
Comments = Secondary information descriptors about the sample metadata which does not technically fall into Factors, Characteristics, or Parameters. Since all data submissions are reviewed by curators, if in doubt, adding your metadata as a comment is acceptable.
Protocols = A Protocol REF column refers to the protocol or procedure that was followed during a specific step of an experiment. This column links each experimental step or process to a corresponding protocol. In the sample table, the Protocol Ref columns describe the experimental process up to the point of sample collection.
Parameters = Names or values to describe attributes related to a particular Protocol Refs; e.g. Diet, Light Cycle, Habitat, Duration, Sample Preservation Method, Housing Temperature, Growth Environment, Growth Time, Age at Harvest, etc.
For each column (i.e. metadata field) in the sample table, double click on the cell for each sample and input the appropriate value. Start typing the value name then select the relevant controlled ontology term from the drop-down menu that appears as shown below (click “more terms” to see additional ontology terms):
Note: The “Term Source REF” and “Term Accession Number” columns associated with each metadata field will automatically get populated upon selection of a controlled ontology value name. These columns are only visible after clicking on the “Expand Table” button.

Once complete, check all cells of the sample table to ensure all cells are populated, are consistent with the information in the sample metadata excel file you completed in step 3, and controlled ontology terms are used throughout.
21. Add assay(s) and input assay details.
Navigate to the “Assays” section of the study overview. Click the “+ Add Assay” button to select the Measurement, Technology type, and Platform that were used to generate your data, then click the “+ Add assay type” button to add the assay to your study as shown below.

After you’ve added your assay, use the completed assay metadata excel file you completed in step 5 and/or 6 to populate the assay table.
Note: Whole columns and rows can be copy and pasted from the excel file.
Click on the “+Samples” button to add samples. All samples in the sample table can be added at the same time by clicking the “Add all existing samples” button followed by the “Add Selected Samples” button as shown below:

If needed, add additional metadata columns by clicking the “+Characteristic”, “+Parameter”, “+Comment”, or “+Protocol” buttons. Use the controlled ontology terms from the drop-down menu when naming columns.
Fill in the assay information by double clicking on the cell for each sample and input the appropriate value and respective units. Start typing the name of the value or unit then select the relevant controlled ontology term from the drop-down menu that appears (click “more terms” to see additional ontology terms), if no terms are relevant use free text to add your value or unit. See examples below:


Once complete, check all cells of the assay table to ensure all cells are populated, are consistent with the information in the assay metadata excel file you completed in step 5 or 6, and controlled ontology terms are used throughout.
Repeat this step for each assay in your study.
22. Input sample and assay(s) protocol details.
Navigate to the “Protocols” section of the study overview, click “Expand All”, then click on the “Edit Protocol” button and complete the information for the sample preparation protocols and each assay protocol. Select the appropriate controlled ontology term when adding protocol type(s) and parameters as shown below. You may also add additional protocols by clicking the “Add New Protocol” button indicated below.

23. Associate data files.
Navigate to the “Files” section of the study overview to associate your raw and processed files for each assay. Use the “Resource Category” drop-down menu to select the appropriate assay, followed by the “Resource Subcategory” to select the type of files you want to associate, then select the appropriate files from your workspace and click “Associate” as shown below.
Note: If you do not see your files, click the “Refresh” button.

24. Save all changes.
After completing all info for the Description, Samples, Assays, and Protocols sections of your study and associating all data files for each assay, click the “Save Metadata” button on the side panel of the study overview page to save all changes.

25. Validate that your study information is complete.
Navigate to the “Study Validations” section of the study overview and make sure all sections are green, indicating they are complete. Sections labeled in red indicate missing or incorrect information, click on each of the red sections to complete or correct the information as shown below:

26. If you made any changes in step 25 then repeat step 24 to save your changes.
27. Modify study release date.
If you want to change the release date of your study, click on the “Release Date” button on the left side panel of the study overview page and select an alternate release date.

Preview Your Study and Submit to OSDR
28. Preview how your study will be displayed on OSDR.
Once you have completed all sections, click on “Preview” in the top right corner or on the link at the top of the study overview page to view a preview of what your study will look like on OSDR.
Note: This is your private study link that can be shared with collaborators and reviewers.

29. Submit your completed study to the OSDR curation team.
You are now ready to submit your study to the OSDR curation team for review by clicking on the “State Submitted” button on the left panel of your study overview page and selecting “In Curation” followed by “Confirm”.
Note: Once you submit your study to curation you will no longer be able to make changes.

30. The OSDR curation team will reach out to you with any questions. If you need to make changes, you can e-mail the OSDR curation team.
Note: The OSDR curation team will wait to receive confirmation from you before releasing your study.